Arduino UNO Mp3音乐播放代码
Arduino UNO Mp3音乐播放代码
今天我们将使用Arduino UNO 和SD卡制作音乐播放器。这个播放器不需要添加多余的模块,只需要SD读卡器和Arduino UNO开发板就可以播放音频文件。由于格式支持的问题,我们需要将音频文件提前转换为wav文件格式,这与ATtiny85制作的SD卡音乐播放器是一样。
///              MP3 PLAYER PROJECT
/// http://educ8s.tv/arduino-mp3-player/
//////////////////////////////////////////

#include "SoftwareSerial.h"
SoftwareSerial mySerial(10, 11);
# define Start_Byte 0x7E
# define Version_Byte 0xFF
# define Command_Length 0x06
# define End_Byte 0xEF
# define Acknowledge 0x00 //Returns info with command 0x41 [0x01: info, 0x00: no info]

# define ACTIVATED LOW

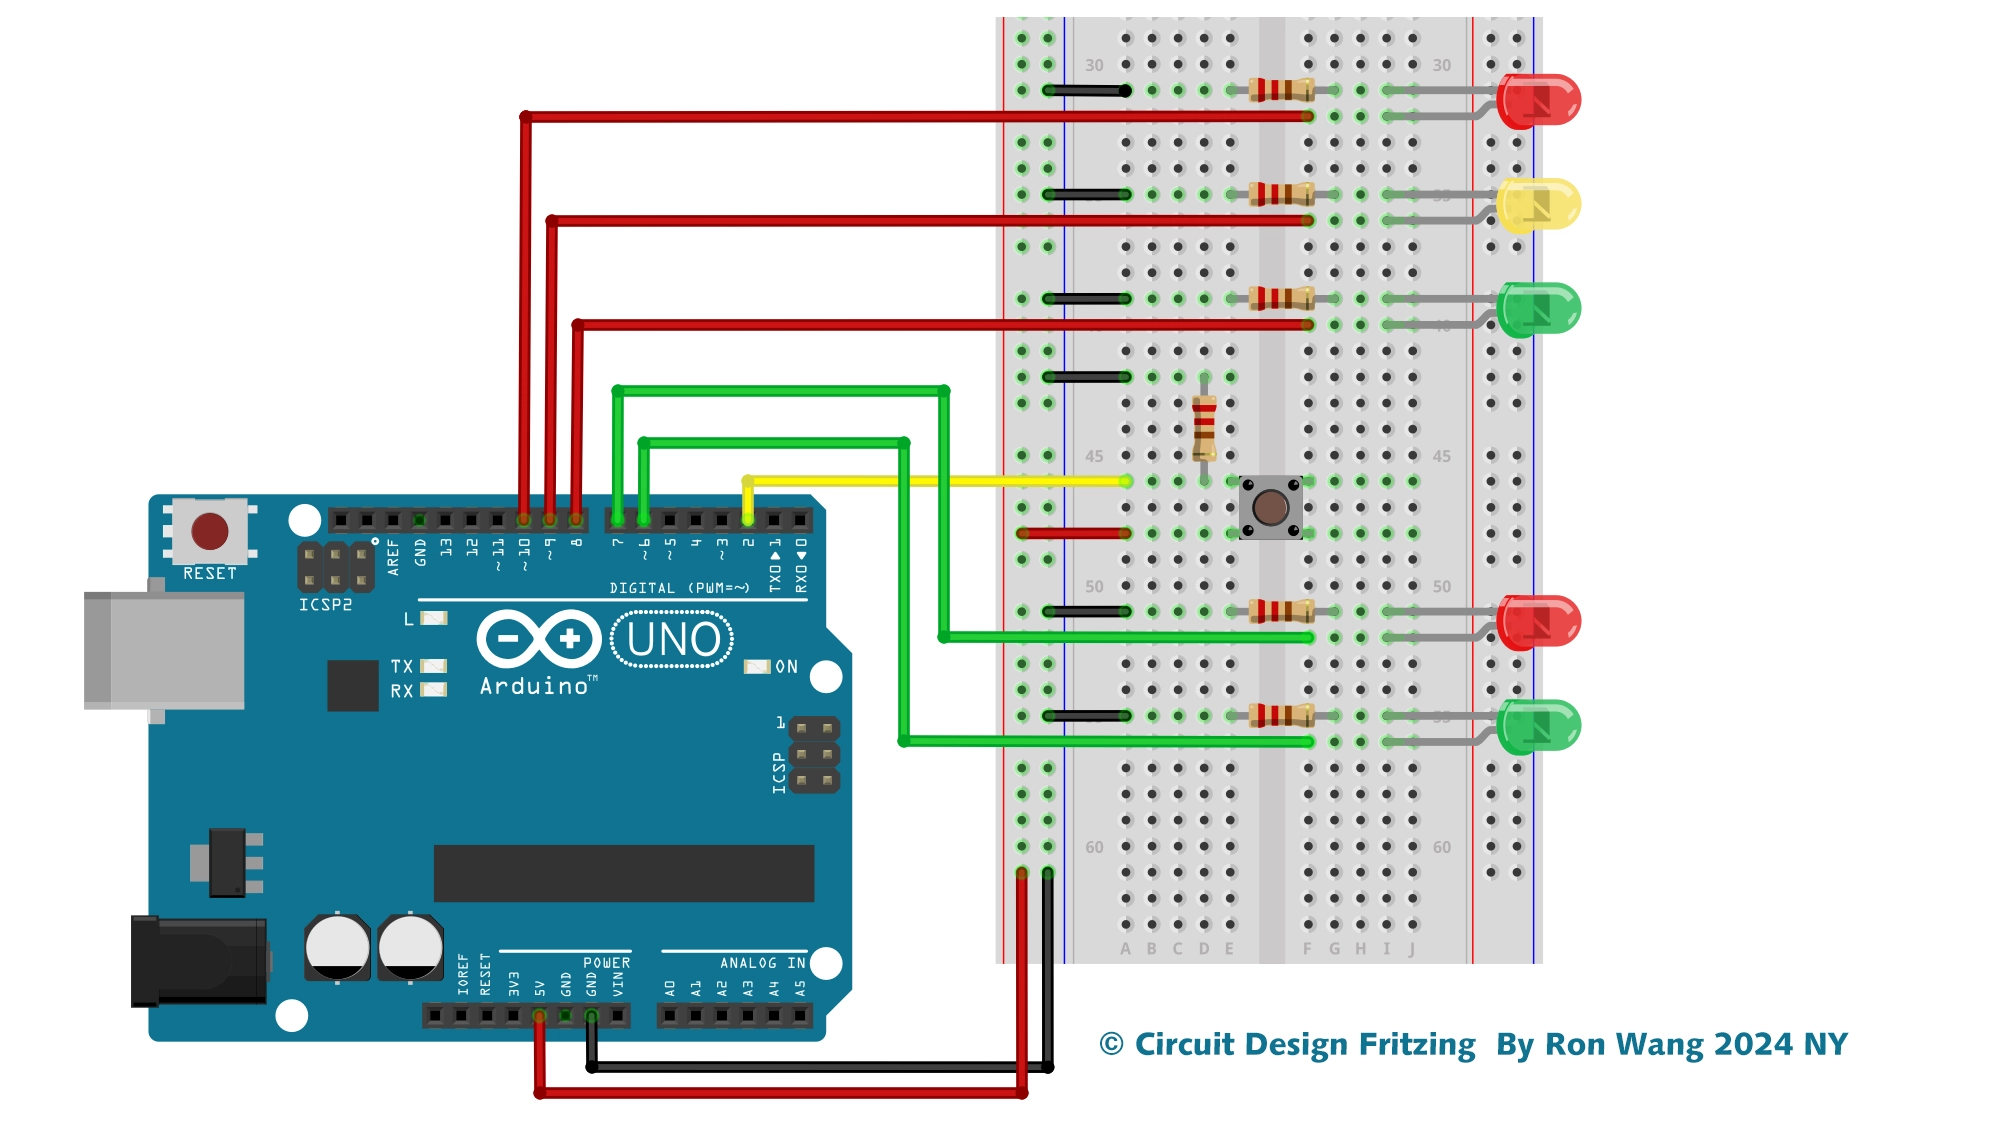
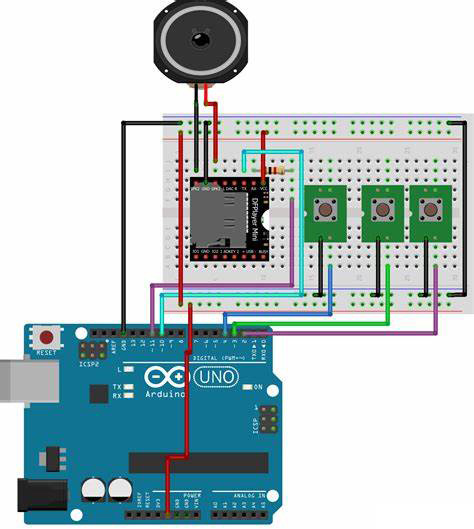
int buttonNext = 2;
int buttonPause = 3;
int buttonPrevious = 4;
boolean isPlaying = false;

void setup () {

pinMode(buttonPause, INPUT);
digitalWrite(buttonPause,HIGH);
pinMode(buttonNext, INPUT);
digitalWrite(buttonNext,HIGH);
pinMode(buttonPrevious, INPUT);
digitalWrite(buttonPrevious,HIGH);

mySerial.begin (9600);
delay(1000);
playFirst();
isPlaying = true;

}

void loop () {

 if (digitalRead(buttonPause) == ACTIVATED)
  {
    if(isPlaying)
    {
      pause();
      isPlaying = false;
    }else
    {
      isPlaying = true;
      play();
    }
  }


 if (digitalRead(buttonNext) == ACTIVATED)
  {
    if(isPlaying)
    {
      playNext();
    }
  }

   if (digitalRead(buttonPrevious) == ACTIVATED)
  {
    if(isPlaying)
    {
      playPrevious();
    }
  }
}

void playFirst()
{
  execute_CMD(0x3F, 0, 0);
  delay(500);
  setVolume(20);
  delay(500);
  execute_CMD(0x11,0,1);
  delay(500);
}

void pause()
{
  execute_CMD(0x0E,0,0);
  delay(500);
}

void play()
{
  execute_CMD(0x0D,0,1);
  delay(500);
}

void playNext()
{
  execute_CMD(0x01,0,1);
  delay(500);
}

void playPrevious()
{
  execute_CMD(0x02,0,1);
  delay(500);
}

void setVolume(int volume)
{
  execute_CMD(0x06, 0, volume); // Set the volume (0x00~0x30)
  delay(2000);
}

void execute_CMD(byte CMD, byte Par1, byte Par2)
// Excecute the command and parameters
{
// Calculate the checksum (2 bytes)
word checksum = -(Version_Byte + Command_Length + CMD + Acknowledge + Par1 + Par2);
// Build the command line
byte Command_line[10] = { Start_Byte, Version_Byte, Command_Length, CMD, Acknowledge,
Par1, Par2, highByte(checksum), lowByte(checksum), End_Byte};
//Send the command line to the module
for (byte k=0; k<10; k++)
{
mySerial.write( Command_line[k]);
}
}
版权声明:本文为原创文章,版权归donstudio所有,欢迎分享本文,转载请保留出处!


