Arduino Project 032 - BMP280 Pressure Sensor LCD Display
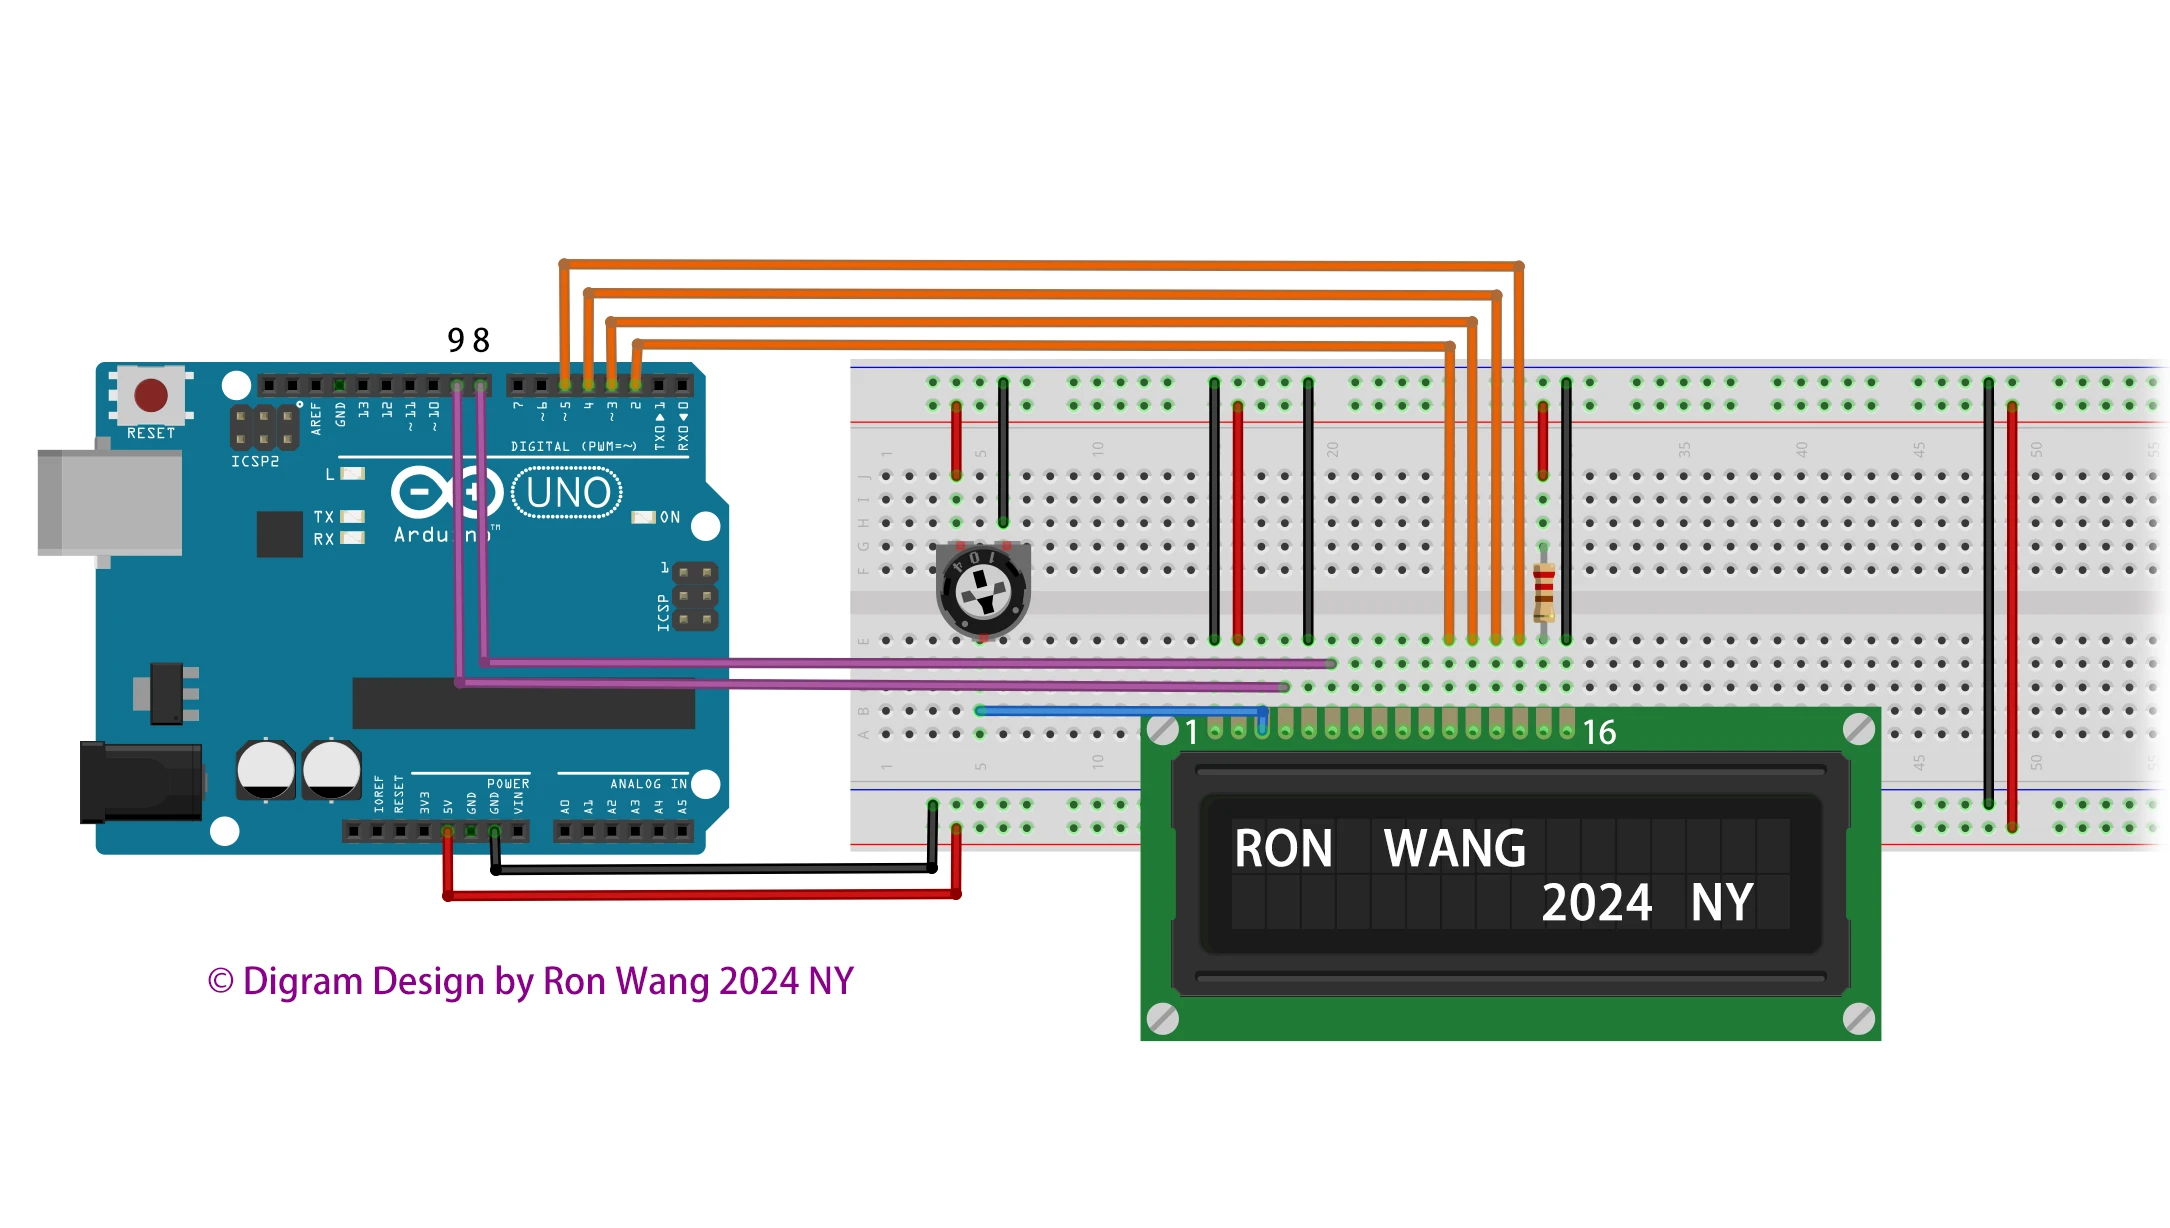
For this project we will use Arduino Uno and BMP280 along with LCD 16x2 display module to display temperature and pressure values.
If you want to build your own temperature monitoring system or measure the altitude of a drone, or just want to measure the atmospheric pressure in your area, then one of the best modules to use in your project is the BMP280 Pressure Sensor Module. BMP280 is an absolute pressure and temperature monitoring sensor, which is an upgraded version of BMP085, BMP180 and BMP183 sensors.
The BMP280 sensor module operates at a minimum voltage (VDD) of 1.71V, whereas previous versions of the sensor module operated at 1.8V (VDD). In terms of current consumption, the BMP280 consumes 2.7uA, while the BMP180 consumes 12uA, and the BMP183 and BMP085 consume 5uA each. The BMP280 also supports new filtering modes. The BMP280 sensor module supports I2c and SPI protocols, while the remaining sensors support I2c or SPI. The BMP280 sensor module has an accuracy of ±0.12 hPa, which corresponds to an altitude difference of ±1 m. Due to these key properties, it is mainly used in various applications.
The BMP sensor consists of a pressure sensing element, a humidity sensing element and a temperature sensing element, which are further connected to the pressure front end, humidity front end and temperature front end. These front-end ICs are sensitive analog amplifiers used to amplify small signals. The output of this analog front-end IC is fed as an input signal to the ADC. In this case, the analog value is converted into a digital voltage and this voltage is fed to the logic circuit for further connection with the outside world.
The BMP280 sensor module consists of three power consumption modes, sleep mode, forced mode and normal mode. In sleep mode, no measurements are performed and power consumption is minimal. In forced mode, a single measurement is performed based on the selected measurement and filtering options. Normal mode continuously cycles between measurement and standby periods, the period of which will be defined by Tstandby. The current in standby mode is slightly higher than in sleep mode.
Project 32 – Digital Barograph


//Project 32 Digital Barograh
#include <Wire.h>
#include <SPI.h>
#include <Adafruit_BMP280.h>
#include <LiquidCrystal.h>
#define BMP280_ADDRESS 0x76
Adafruit_BMP280 bmp; // I2C
//Adafruit_BMP280 bmp(BMP_CS); // hardware SPI
//Adafruit_BMP280 bmp(BMP_CS, BMP_MOSI, BMP_MISO, BMP_SCK);
LiquidCrystal lcd(9, 8, 5, 4, 3, 2);
void setup() {
lcd.begin(16,2);
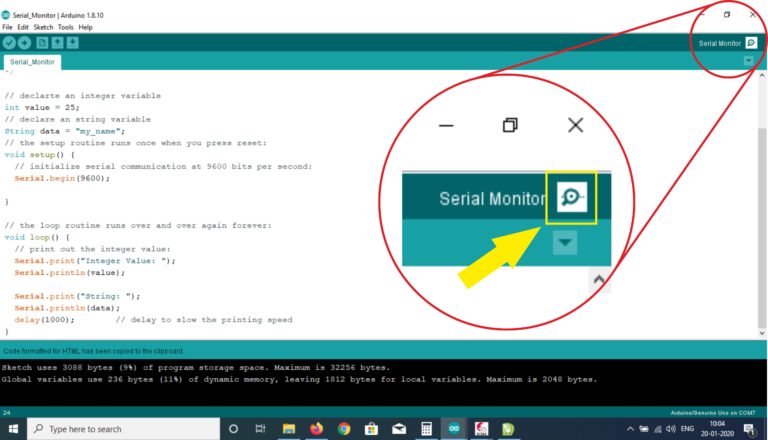
Serial.begin(9600);
Serial.println(F("BMP280 test"));
lcd.print("Welcome to ");
lcd.setCursor(0,1);
lcd.print("CIRCUIT DIGEST");
delay(1000);
lcd.clear();
if (!bmp.begin(BMP280_ADDRESS)) {
Serial.println(F("Could not find a valid BMP280 sensor, check wiring!"));
while (1);
}
/* Default settings from datasheet. */
bmp.setSampling(Adafruit_BMP280::MODE_NORMAL, /* Operating Mode. */
Adafruit_BMP280::SAMPLING_X2, /* Temp. oversampling */
Adafruit_BMP280::SAMPLING_X16, /* Pressure oversampling */
Adafruit_BMP280::FILTER_X16, /* Filtering. */
Adafruit_BMP280::STANDBY_MS_500); /* Standby time. */
}
void loop() {
Serial.print(F("Temperature = "));
Serial.print(bmp.readTemperature());
Serial.println(" *C");
lcd.setCursor(0,0);
lcd.print("Temp= ");
lcd.print(bmp.readTemperature());
Serial.print(F("Pressure = "));
Serial.print(bmp.readPressure());
Serial.println(" Pa");
lcd.setCursor(0,1);
lcd.print("Press= ");
lcd.print(bmp.readPressure());
Serial.print(F("Approx altitude = "));
Serial.print(bmp.readAltitude(1018)); /* Adjusted to local forecast! */
Serial.println(" m");
Serial.println();
delay(2000);
} 版权声明:本文为原创文章,版权归donstudio所有,欢迎分享本文,转载请保留出处!