Arduino Project 036 - DTH Temperature and Humid Sensor
The DHT11 Temperature and Humidity Sensor senses, measures and regularly reports the relative humidity in the air. It measures both moisture and air temperature. The warmer the air is, the more moisture it can hold, so relative humidity changes with fluctuations in the temperature.
Humidity sensors detect the relative humidity of immediate environments in which they are placed. They measure both moisture and temperature in the air and express relative humidity as a percentage of the ratio of moisture in the air to the maximum amount that can be held in the air at the current temperature. As the air becomes hotter, it holds more moisture, so the relative humidity changes with the temperature.
The DHT11 sensor operates by utilizing a thermistor to measure temperature and a humidity-sensitive capacitor to gauge the relative humidity in the surrounding environment. When connected to an Arduino board, the sensor sends digital signals that can be interpreted to obtain accurate readings of both temperature and humidity levels.
Inside the DHT11, changes in temperature cause resistance in the thermistor to vary, affecting the voltage drop across it. This change is then converted into a digital signal for processing. Similarly, fluctuations in humidity lead to alterations in capacitance within the sensor’s circuitry, which are also translated into digital data for analysis.
Project 36 DTH Temperature and Humid Sensor
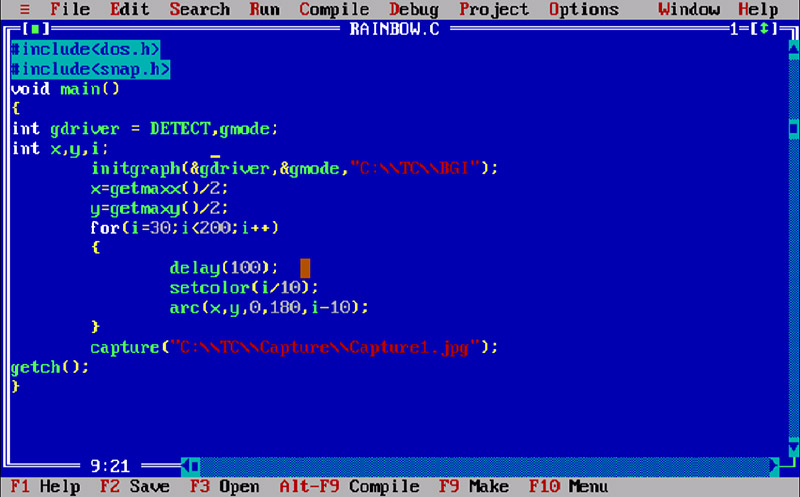
/* Coding Ron Wang
Nov.28th 2024
Autaba provides Hardware support for the project
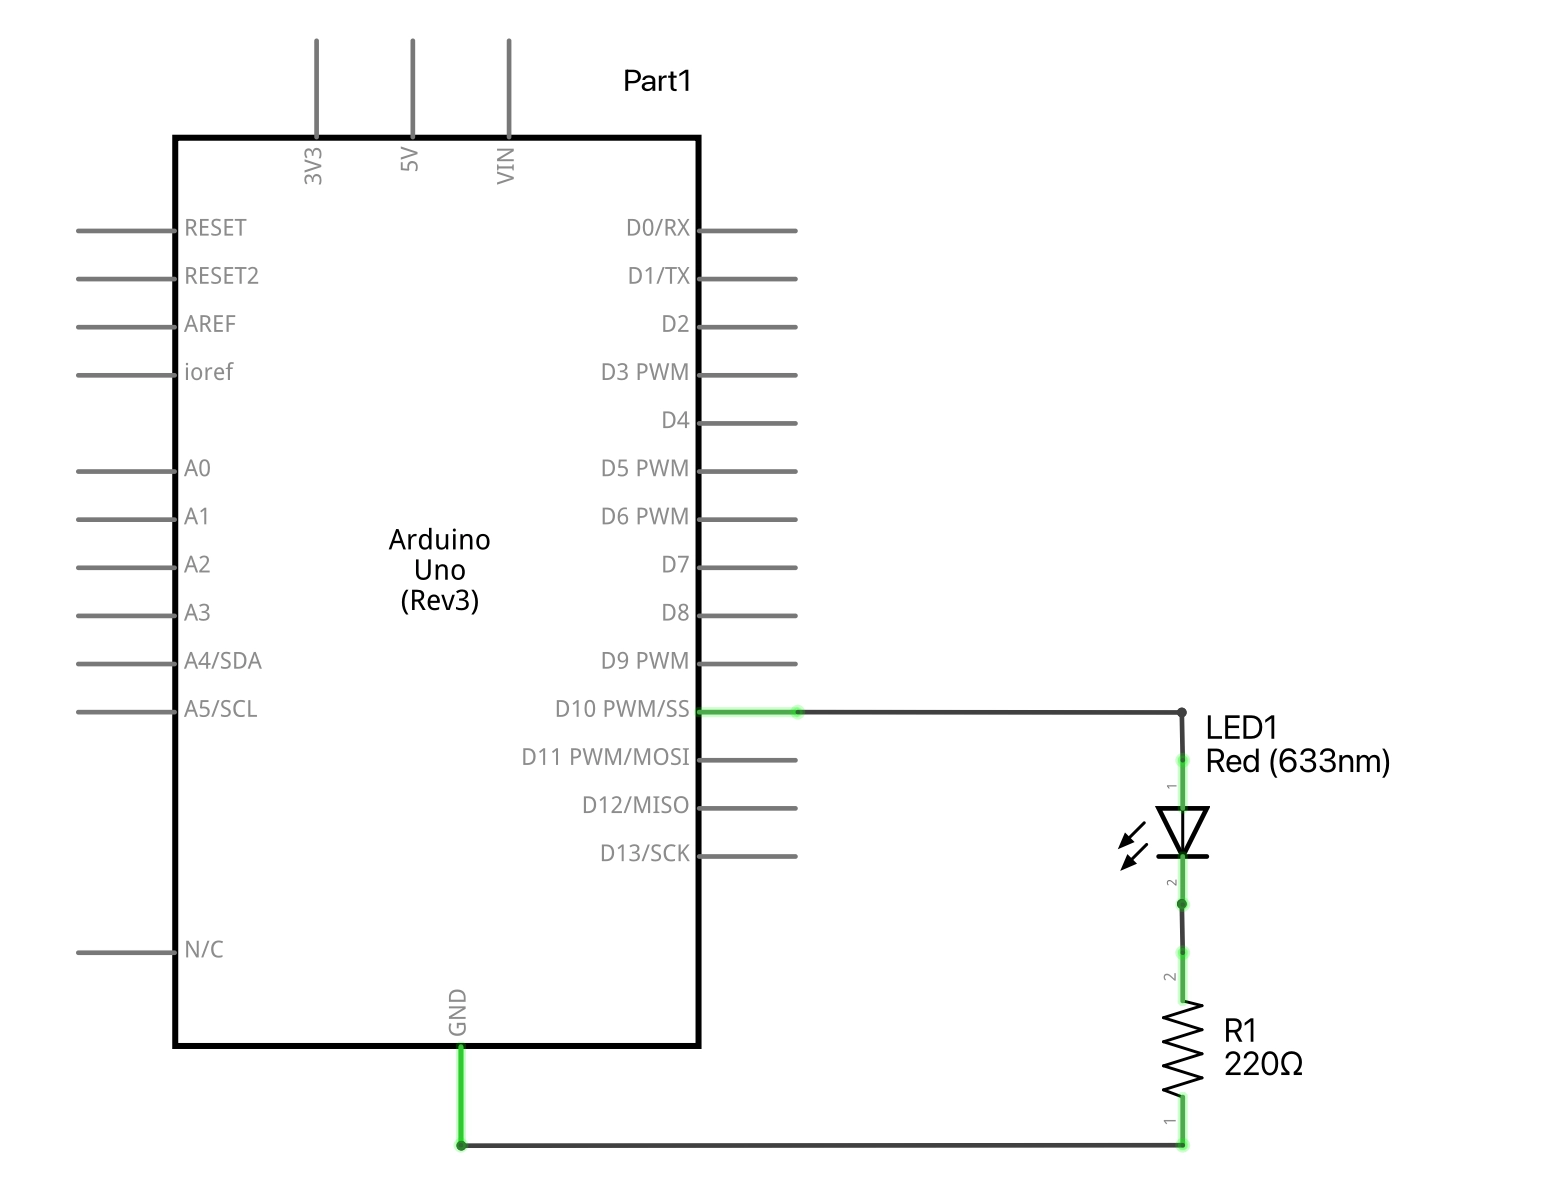
© Schematic Design Fritzing By Ron Wang 2024 NY
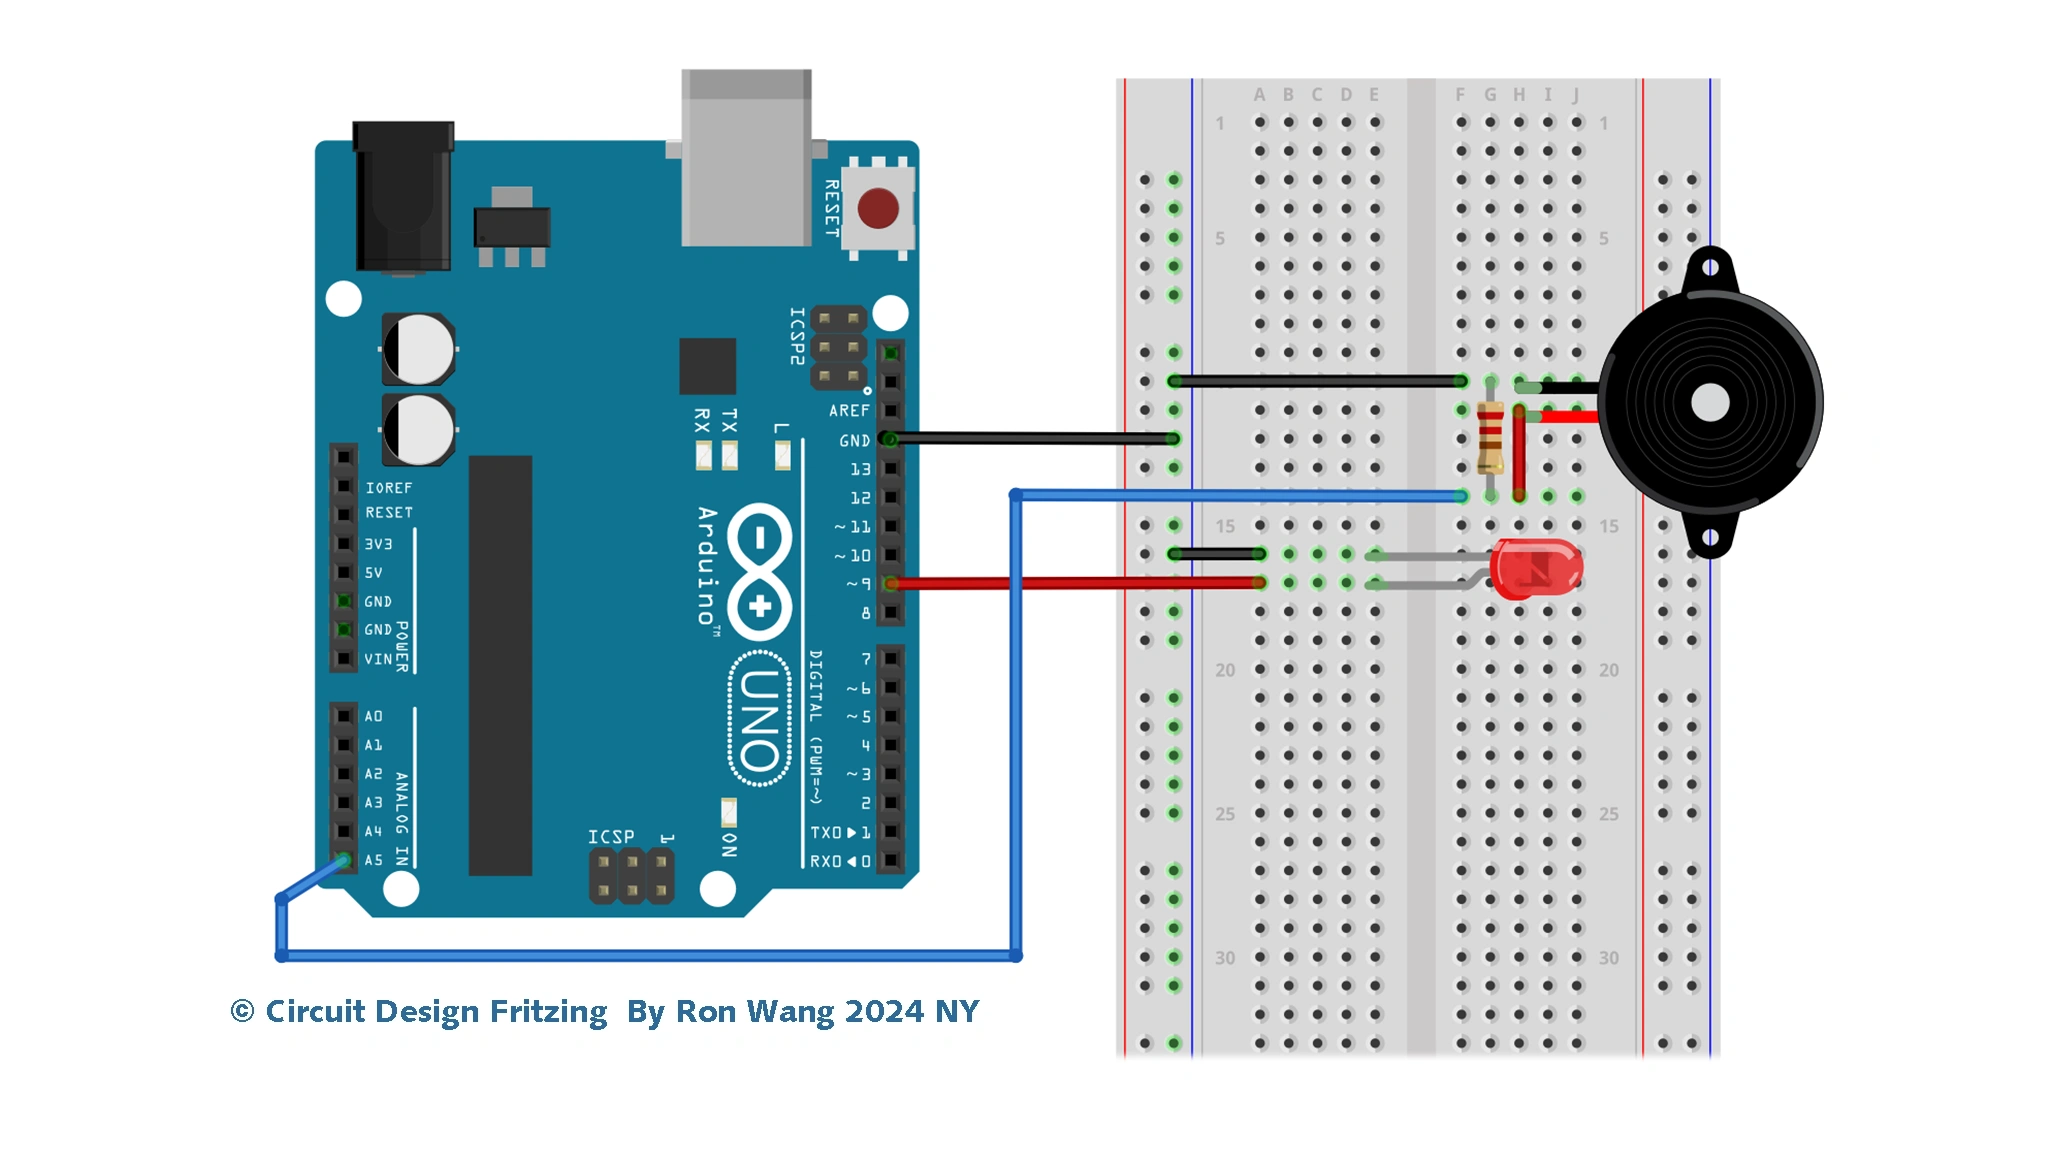
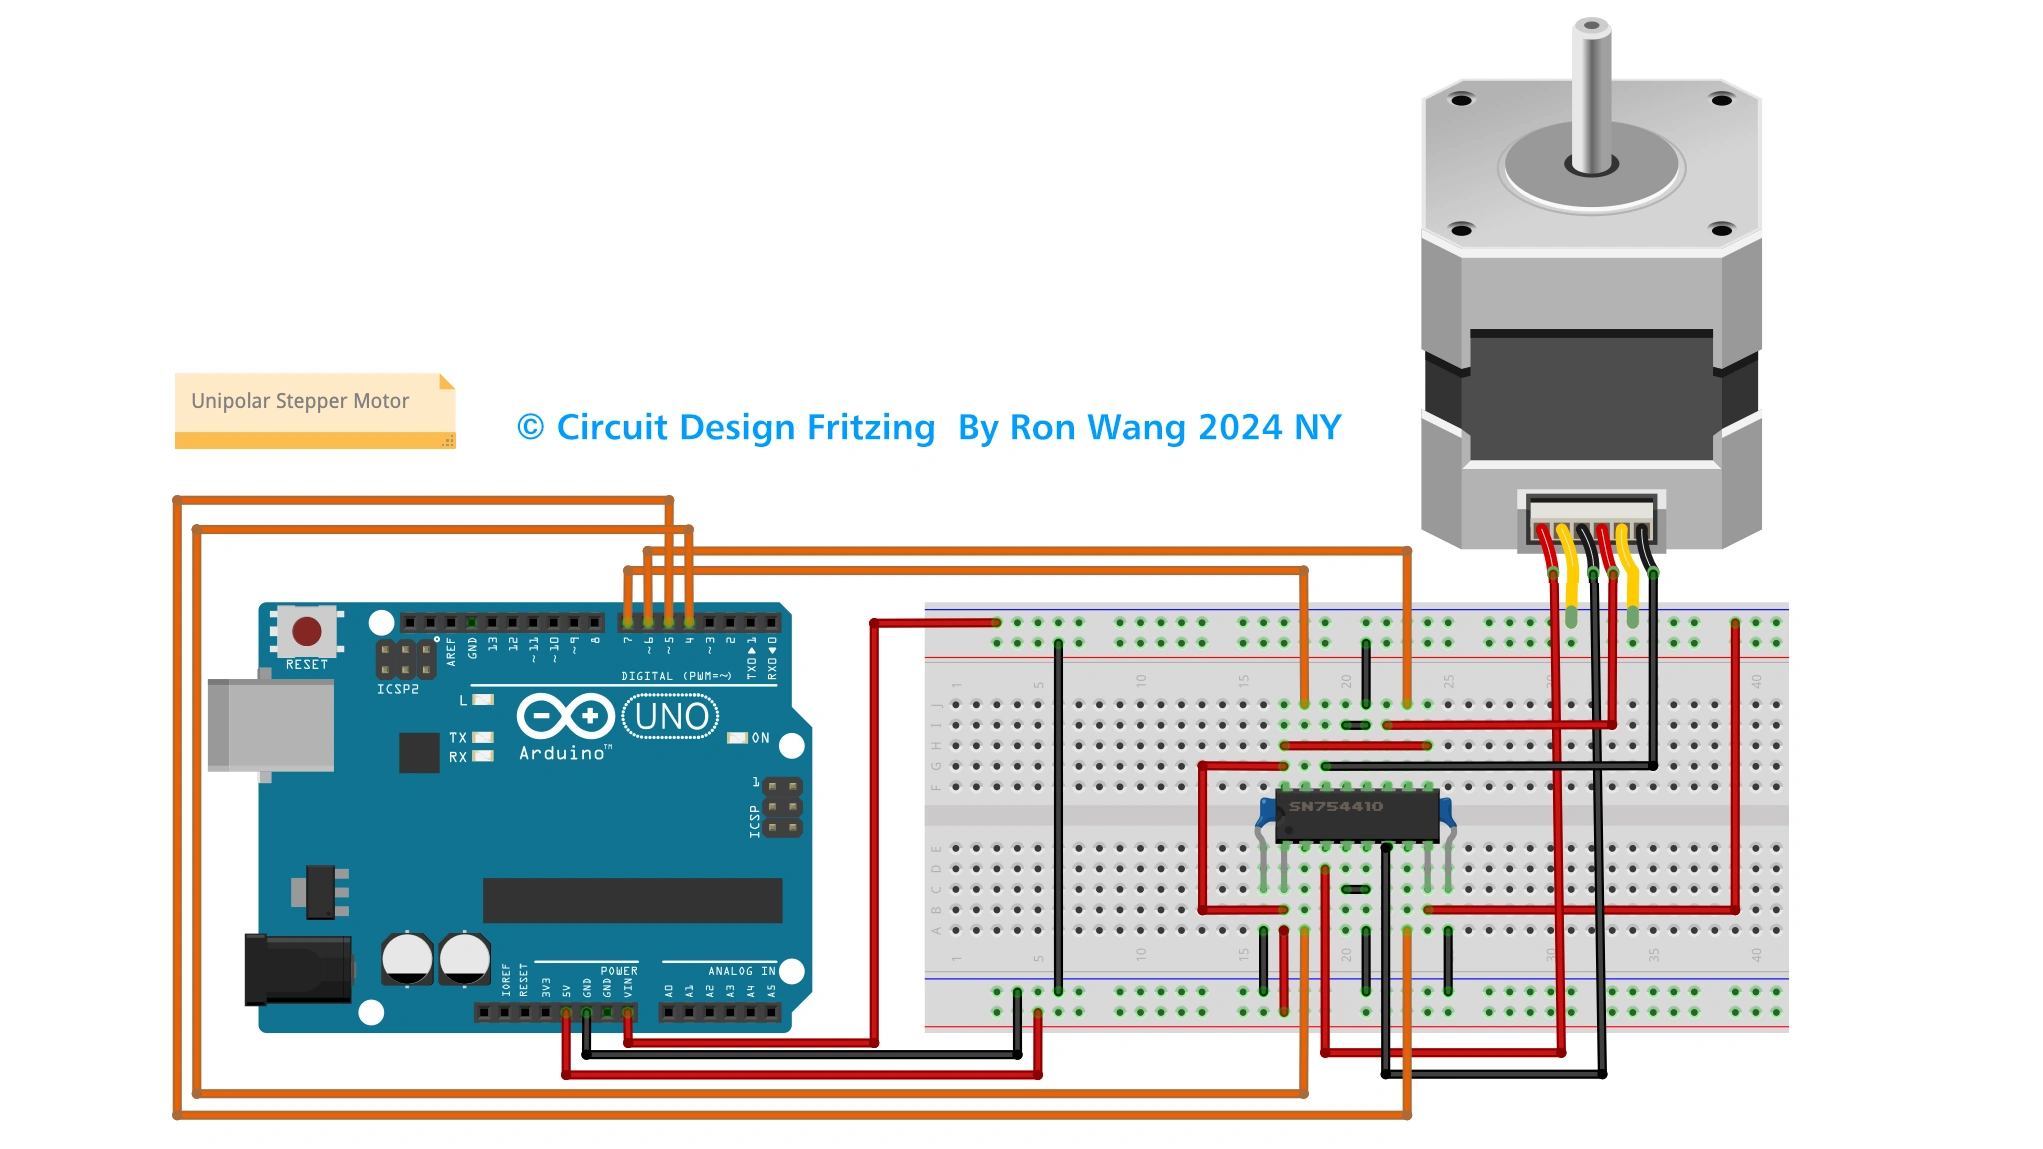
© Circuit Design Fritzing By Ron Wang 2024 NY
Project 36 DHT11 Temperature and Humid Sensor
*/
#include <SimpleDHT.h> // Adding DHT libraries
int pinDHT11 = 11; //Declaring digital pin no 11 as the dht11 data pin
SimpleDHT11 dht11;
void setup() {
Serial.begin(9600); // Choose 9600 at the port screen
}
void loop() {
Serial.println("=================================");
Serial.println("DHT11 readings...");
byte temperature = 0;
byte humidity = 0;
int err = SimpleDHTErrSuccess;
//This bit will tell our Arduino what to do if there is some sort of an error at getting readings from our sensor
if ((err = dht11.read(pinDHT11, &temperature, &humidity, NULL)) != SimpleDHTErrSuccess) {
Serial.print("No reading , err="); Serial.println(err);delay(1000);
return;
}
Serial.print("Readings: ");
Serial.print((int)temperature); Serial.print(" Celcius, ");
Serial.print((int)humidity); Serial.println(" %");
delay(750);
}
DTH Temperature and Humid Sensor Circuit

DTH Temperature and Humid Sensor Schematic
版权声明:本文为原创文章,版权归donstudio所有,欢迎分享本文,转载请保留出处!